A leaking or dripping kitchen faucet is a common problem we all face, but the good news is you don’t always have to call a plumber. In most cases, you can fix it yourself with just a few simple tools. So, how to fix a leaky kitchen faucet? Identify the leak, disassemble the faucet, replace damaged parts, and reassemble it. Whether it’s a dripping kitchen faucet or a major leak, you can follow these DIY tips to get your faucet working again.
1. What Type of Faucet Do You Have?
The first step in kitchen faucet repair is to know what type of faucet you have. There are several types – compression faucets, ball faucets, cartridge faucets and ceramic disk faucets. Each type has its own components and the way to fix a leaking kitchen faucet varies. Compression faucets are most likely to develop leaks because of damaged rubber washers, while other types of faucets might have issues with their cartridges or valves. Once you know what type you have, you can get the right tools and replacement parts needed for the repair. Knowing the basics of your faucet type will guide you in fixing a dripping kitchen faucet.
2. Turn Off the Water
Before you start any repairs, turn off the water supply to prevent further damage and mess. Locate the shut-off valves and turn them clockwise to shut off the water supply. It’s a good idea to turn on the faucet after shutting off the water to relieve any pressure in the lines. If you can’t find the valves or they are stuck, you may need to turn off the primary water supply to your home. This way you won’t be dealing with a flooded countertop when you start working on how to fix a leaky kitchen faucet.
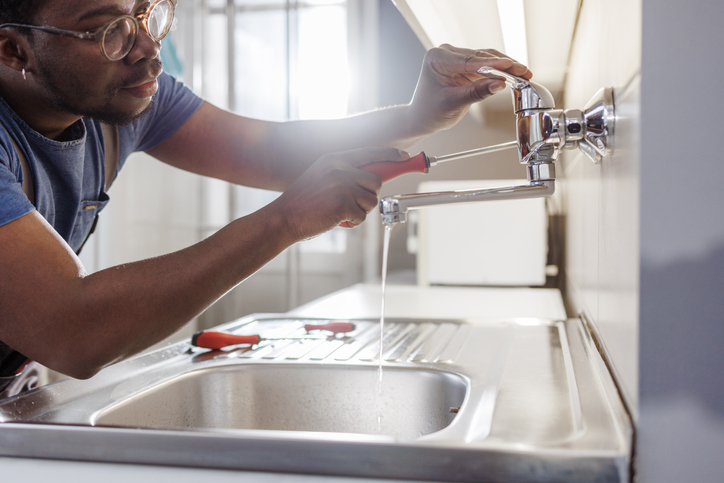
3. Disassemble the Faucet
With the water supply off, it is time to disassemble the faucet. Depending on the type of faucet you have, you may need to remove the handle first. This can be done by loosening a screw under a decorative cap or cover. Once the handle is removed, you’ll be able to access the internal parts such as the cartridge, valve stem or rubber washers. When fixing a leaky kitchen faucet be patient and keep track of the order of disassembly. You can take a picture to help you remember how everything fits together when you reassemble.
4. Inspect the Parts for Wear or Damage
Now that the faucet is disassembled, you can start inspecting the parts for wear or damage. If you have a compression faucet the rubber washers are most likely the cause of the leaky kitchen faucet. These washers can become brittle or corroded over time and when turned on, the faucet will leak. For ball, cartridge or ceramic disk faucets, the issue may be with the cartridge or seals, which are designed to regulate water flow and prevent leaks. Inspect each part thoroughly and look for any visible damage, cracks or signs of wear. If any part is damaged, it will need to be replaced to stop the dripping kitchen faucet from leaking.
5. Replace the Damaged or Worn Parts
Once you’ve identified the faulty parts, you can replace them to fix your faucet. For a compression faucet, you’ll need to replace the rubber washers or O-rings. For ball faucets, the cartridges or seals are the problem. For cartridge faucets, you’ll need a new cartridge. The parts can be found at most hardware stores or online and make sure to get the right parts for your specific faucet model. If you’re not sure what parts to get, take the old ones with you to the store to compare. Knowing how to fix a faucet is all about getting the right parts for your type of faucet.
6. Reassemble the Faucet
Now that you’ve replaced the damaged parts, it’s time to reassemble the faucet. Start by putting the new parts in their correct position in the reverse order of disassembly. If you have a compression faucet, make sure to put the new washer in place correctly. If you have a ball faucet, make sure the new cartridge or seal is seated correctly. Take your time during the reassembly to avoid damaging any parts. Tighten any screws or bolts to secure the faucet and make sure everything is lined up. A good reassembly will have your faucet working smoothly when you turn it on.
7. Test the Faucet and Check for Leaks
Now that you’ve reassembled the faucet turn the water supply back on and test the faucet to make sure it’s working. Check for leaks by running the water for a few minutes and inspect all areas where the faucet parts meet. Look for any signs of dripping or leaking around the base or handle. If you see any leaks double-check that the parts are seated correctly and you haven’t missed any small parts like washers or seals. Testing the faucet thoroughly after a faucet repair is key to making sure the problem is fixed and the leaky kitchen faucet is stopped.
Fixing a leaky kitchen faucet is a simple DIY job that most homeowners can do with a little time and elbow grease. Follow these steps and you’ll learn how to fix a dripping kitchen faucet, whether it is a damaged washer, faulty cartridge or damaged seal. But if the leak persists after replacing parts or you’re not sure what’s causing the leak, then it may be time to call a professional plumber. Fixing a dripping kitchen faucet doesn’t always mean you have to call an expert but knowing when to ask for help is just as important as doing it yourself.
Are you ready to fix that leaking kitchen faucet? Don’t hesitate to contact a plumber from Global Cooling & Plumbing+ at (830) 992-7887.